

While stripping out the forepeak, we found the bulkhead behind the water tank cracked - primarily because of the unnecessary large cut-out. Also, the batten running the width of the bulkhead was not attached to the bulkhead itself. Moreover, the chopped strand mat used to bond the bulkhead to the sides of the hull was not wetted with enough resin and came away easily in some areas - and the gap between the plywood edge and the hull was never filled. All reason enough to fix it properly while we have a chance. Here's what seemed to produce satisfactory results:

Ingredients
- West System 205 epoxy resin (from http://www.ecfibreglasssupplies.co.uk/)
- West System 105 hardener
- West System 403 microfibers
- 6mm chopped glass strand
Tools
- chisel
- sand paper, wire brush
- white bin liners
- battens
- G-clamps
- brushes
- mixing cups
- spatulas
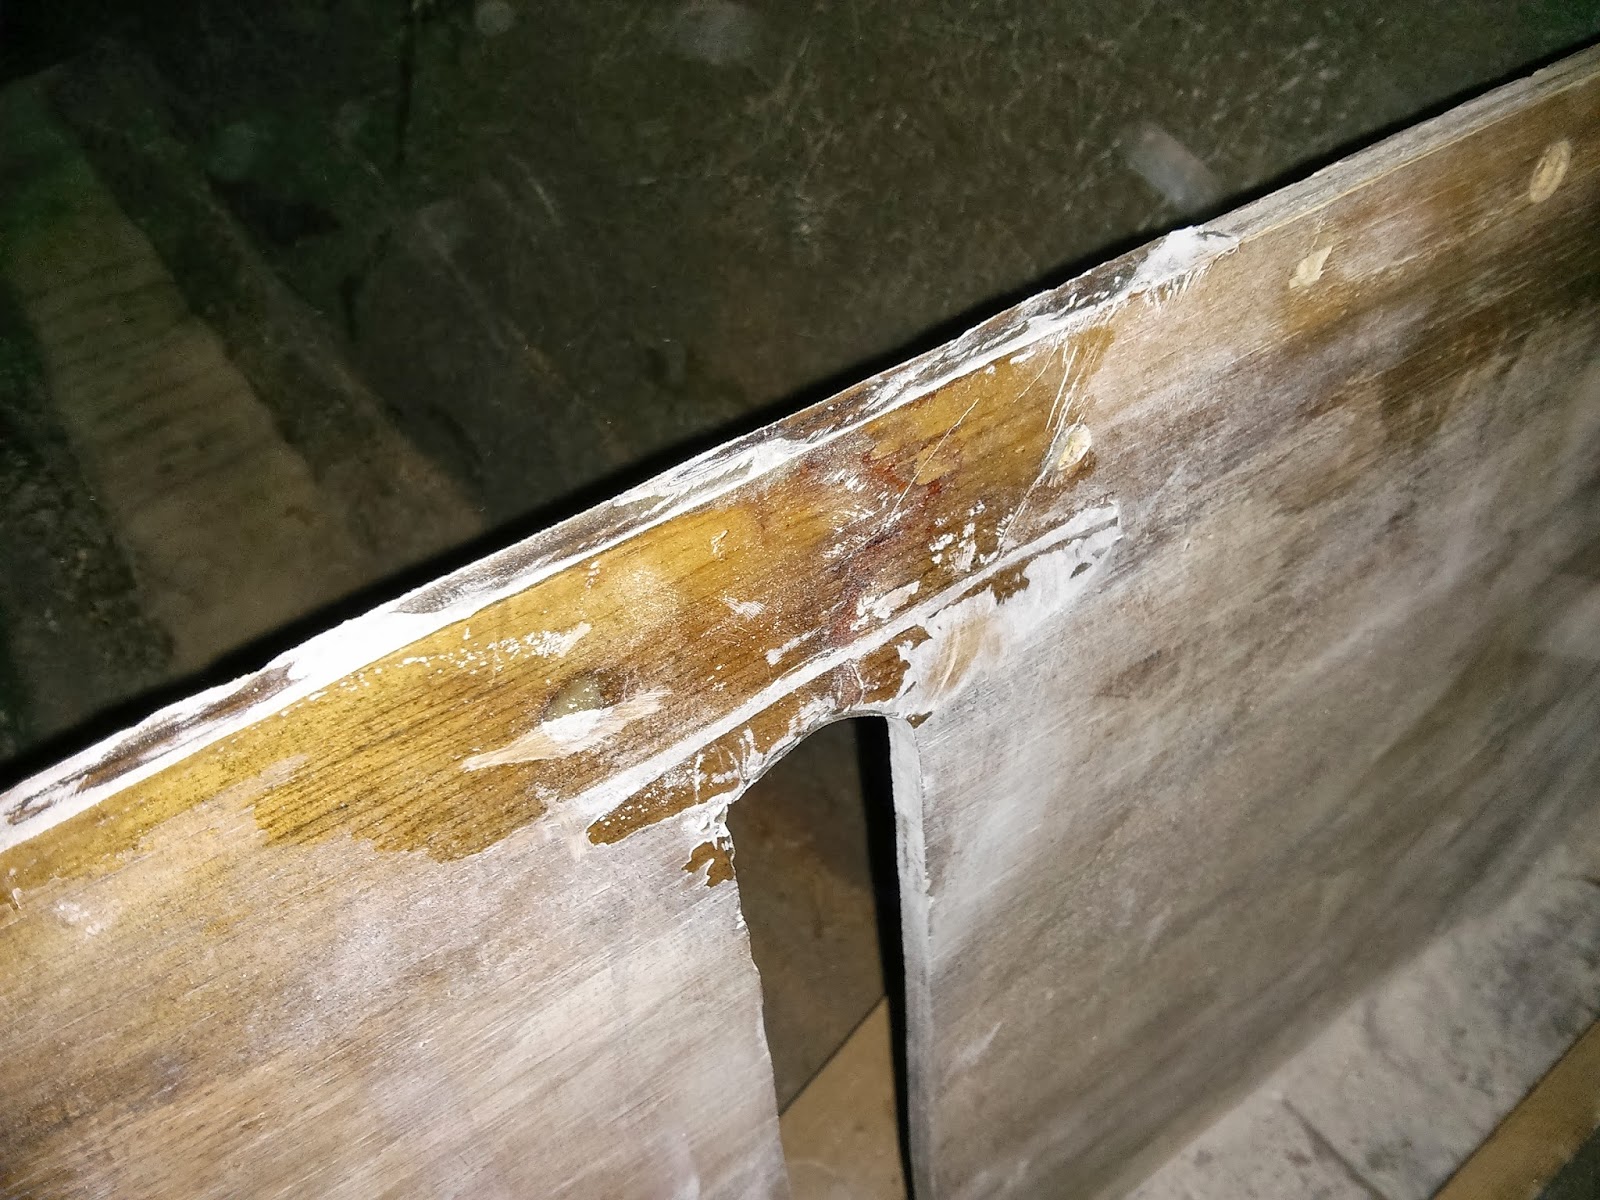
Step 1: repairing the cracked plywood
Luckily, the different plywood layers cracked a few cm apart, leaving a large bonding area.
- Remove any loose chips to make sure the surfaces mate.
- Sand and clean both sides.
- Dry-fit all the G-clamps with flat battens supporting the repair on both sides.
- Mix some epoxy and wet out the inside of the crack on both sides with a brush - make sure all surfaces are coated.
- Mix the remaining epoxy with microfibers.I found it easier to gradually add the filler into the cup. Keep adding the filler while stirring until the putty sticks to vertical surfaces and the spatula. Make sure there are no dry fibers. The resulting putty is great for wood repairs.
- Fill the gap with putty. Any excess can be removed later.
- Fold a bin PE bin liner over the edge of the bulkhead, compress between two flat battens using G-clamps.
- When the epoxy has set, I was left with a seamless repair - the little excess putty was squeezed out on the bottom and was easily sanded away.

Step 2: Filleting the edges
First, I lifted the separating fiberglass tape using a chisel and cut it away with a Dremel. I went well past the edge of the problematic area to make sure any remaining bond is solid. This exposed the gap to be filled before applying some biaxial cloth over the top - I don't think there should be any hollow areas between the plywood and the fiberglass.
- Grind/sand all the surrounding surfaces - a power drill with a wire brush attachment worked well.
- Open up the gap a little to ensure it can be filled properly.
- Mix some epoxy and use a brush to coat all surfacesthroughly.
- Mix the remaining epoxy with chopped strands to a thick consistency. It is essential to make sure there are no dry fibers left in the mix - the putty looks "glassy" throughout with no white threads.
- Once it mix is thick enough to form a fillet and stay in place, apply liberally to the previously wetted areas, making sure it goes into all the crevices. The chopped strands provide an extremely strong structural bond in all directions.
- A layer of plastic film helps to support the filet if the putty is a littly runny.
- Once dry, it is ready to be sanded and glassed over.

Step 3: fitting the batten
The batten previously spanning the width of the bulkhead was too long to fit flush against the former - taking off a few millimetres with a chisel helped. It was screwed in on the sides, and the wholes where clearly wearing out over time. I decided to glass it to both the sides of the hull and the top of the bulkhead to create a durable, maintenance-free structure.
- Sanded all surfaces with 120grit (I didn't have any 80 at hand)
- Wet the batten, the top of the bulkhead and the sides of the hull with epoxy.
- Mix some chopped strand putty to fill any gaps between the batten and the sides of the hull.
- Applying it proved a little tricky - I was filling both sides at the same time, and the putty would start sliding off as soon as I turned my attention to the opposite end of the batten. Eventually, I managed to support the batten in the right position with G-clamps and get enough thickened epoxy to stay in the gaps.
- Mix some microfibre putty to bond the batten to the bulkhead.
- Tape the bottom edge of the batten to the bulkhead to stop the epoxy from running straight down.
- The bulkhead is flexible enough to open up a gap and fill it with putty.
- Keep squeezing the putty into the gap until it starts squeezing out when the gap is compressed.
- Top up hard to reach places with liquid epoxy.
- Cover with plastic film and compress using support battens and G-clamps.
No comments:
Post a Comment